Glasses-Free 3D for Collaborative Review: A Workflow Tradeoffs Playbook
How glasses-free 3D monitors actually behave when teams review models together, and the workflow tradeoffs buyers should weigh before committing to a room.
Glasses-Free 3D for Collaborative Review: A Workflow Tradeoffs Playbook
Glasses-free 3D monitors look great in a single-viewer demo and get genuinely harder the moment a second person sits down. This piece walks through the workflow tradeoffs that show up when teams try to use autostereoscopic displays for collaborative review sessions — design reviews, case reviews, inspection hand-offs, classroom walkthroughs — and how to plan around them.
The angle here is intentionally different from a generic “how does 3D without glasses work” explainer. The reader intent is: I already know roughly how the technology works. Help me decide whether it survives a real group of people in a real room.
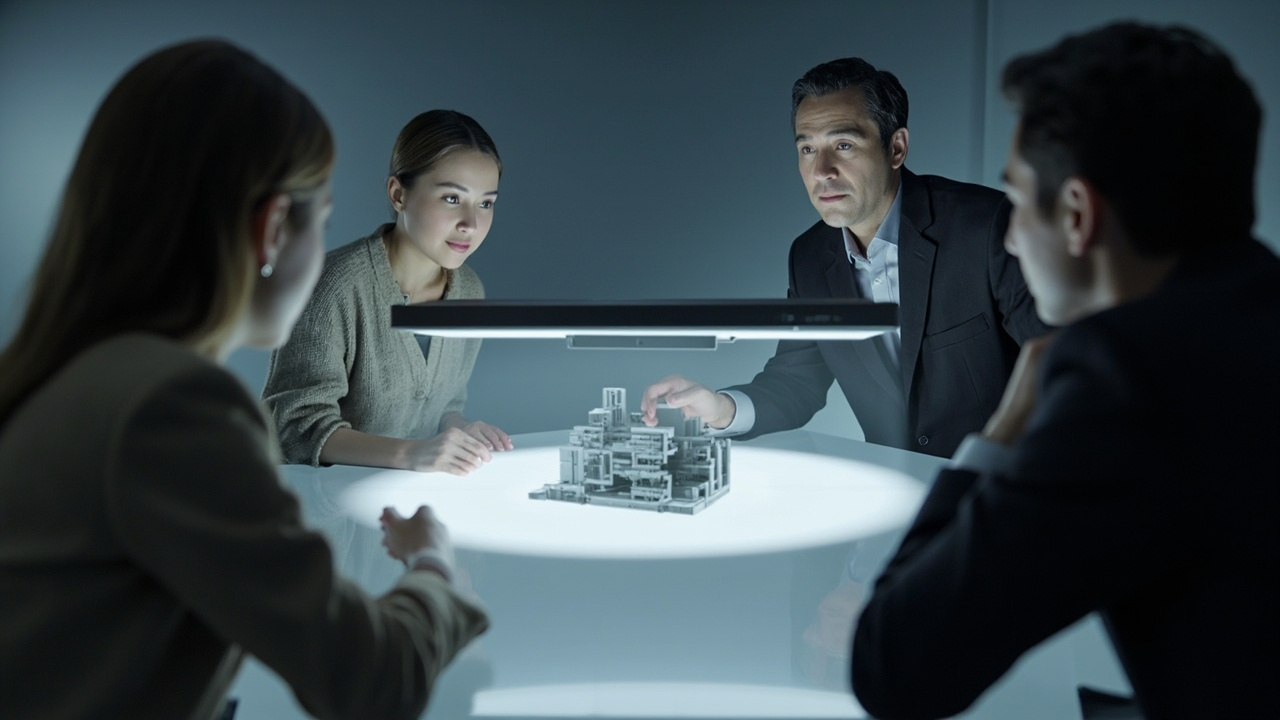
Glasses-free 3D for collaborative review depends less on the panel and more on the room, the seating layout, and the content pipeline.
Why collaborative review is the hardest glasses-free 3D use case
Glasses-free 3D displays — also called autostereoscopic displays — rely on directing slightly different images to each eye. In a solo workflow this is manageable: the display tracks one viewer and routes the correct left- and right-eye views to that person. The moment you add a second, third, or fourth person, every assumption about viewing position, distance, and head movement starts to break.
Most teams hit three recurring friction points in collaborative review:
- Viewer count limits. Eye-tracked autostereoscopic systems are typically optimized for one or two primary viewers at a time. Add a third person at a different angle and they may see a doubled, inverted, or flickering image.
- Sweet-spot drift. As viewers lean, stand, or shift, the display has to re-map the stereo zones. In a quiet solo review that is invisible. In a noisy group review it is constantly visible.
- Conversation vs. screen real estate. Review meetings involve pointing, leaning in, stepping back, and turning to talk to a colleague. Each of those movements can take a viewer out of the stereo zone.
This is why “does it work for my team?” is a meaningfully different question from “does it work for one person at a desk?” The rest of the article is organized around the tradeoffs that answer the team question.
How viewer tracking and viewing zones shape group sessions
The single biggest workflow variable is the viewing zone model the display uses. Two families show up most often in professional glasses-free 3D products:
- Eye-tracked, single-primary-viewer systems. The display follows one person’s eyes and delivers a tailored stereo image to that person. Excellent for one-on-one walkthroughs and solo review. Group use is limited to “whoever the display is currently tracking,” which in practice often means the most senior person in the room.
- Multi-view lenticular systems. The display projects several fixed viewing zones across an angle. Multiple viewers can each sit inside their own zone. The trade is usually lower per-viewer fidelity and a more constrained physical seating arrangement.
Neither is universally better. For collaborative review, the relevant questions are:
- How many simultaneous viewers are supported, and at what resolution per viewer?
- How wide is the horizontal viewing angle, and does it match the room layout (side-by-side seating, U-shape, classroom rows)?
- Does the system degrade gracefully when someone steps out of zone, or does it break visually for everyone?
- Does the tracking re-acquisition time feel natural during conversation, or does the image visibly “snap” back into stereo?
Teams that answer these questions honestly — usually with a short in-room pilot — avoid most of the bad reviews of glasses-free 3D that surface in community threads.
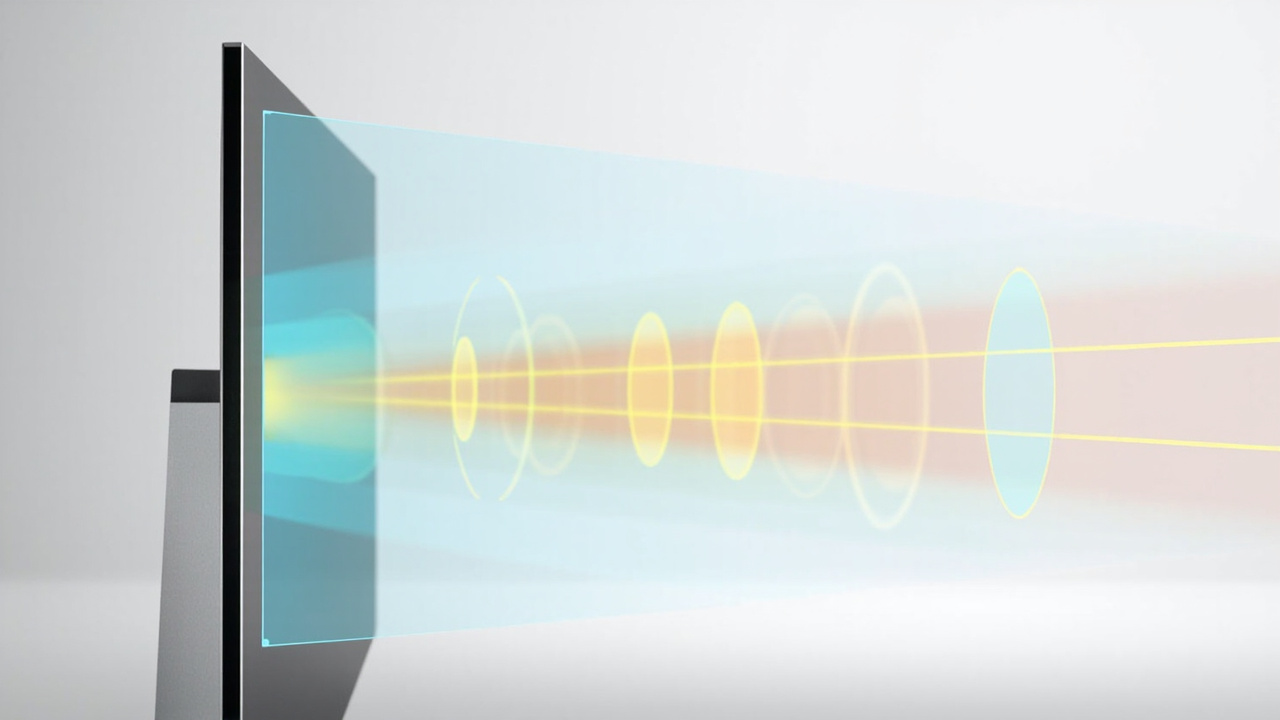
Viewer tracking and viewing zones determine how many people can simultaneously see correct stereo, and how forgiving the display is to movement during conversation.
Content preparation work a team has to budget for
A second workflow tradeoff is content readiness. A glasses-free 3D monitor does not invent depth; it presents left- and right-eye views that already exist, or that it can synthesize from a single source. For collaborative review, the content pipeline is usually the longer pole than the hardware.
In practice, teams should expect to plan for at least some of the following preparation work, depending on the source material:
- Stereo-native sources (side-by-side renders, stereo camera captures, dual-camera CAD exports, certain medical viewers): usually display with minimal extra work, assuming color, parallax baseline, and aspect ratio are within the panel’s expected range.
- Monoscopic 3D sources (single-camera 3D models, exported renders, some web-based viewers): often work, but depth mapping, scale, and parallax behavior depend on the display’s software pipeline. Results vary and usually need a calibration pass per content type.
- Pure 2D sources (slides, screenshots, documents): not a fit for collaborative 3D review. Teams sometimes use these as fallback material, which is fine, but they should not be the reason to buy a glasses-free 3D display.
The practical workflow rule: budget time to prepare a small library of representative assets before the first review meeting, not during it. Teams that try to “just open the file” on day one almost always end up with a mixed-quality demo that nobody trusts.
Hardware and room tradeoffs nobody mentions up front
Beyond viewing zones and content, a few physical and environmental tradeoffs consistently shape collaborative review outcomes:
- Panel size vs. group size. Larger panels do help, but only up to the viewing-angle and zone-count limits of the specific model. A 32-inch display that supports two viewers is often a better collaborative tool than a 65-inch display that supports one.
- Lighting and reflections. Autostereoscopic optics and any lenticular layer interact with ambient light. Bright rooms, windows behind viewers, and overhead spots can wash out the stereo effect or introduce visible banding on the optical layer.
- Cabling and source switching. Review meetings often involve switching between a presenter’s laptop, a shared visualization workstation, a medical viewer, and a CAD seat. HDMI, DisplayPort, and USB-C handling — and how cleanly the display switches between them — directly affects meeting flow.
- Acoustic and seating layout. This sounds unrelated but is not. If the only comfortable viewing position is directly in front of the panel, side conversations push people out of zone. A small table-and-chair rearrangement often does more for review quality than a firmware update.
- Heat, fan noise, and ergonomics. Some professional autostereoscopic panels run warm or audible under load. In a quiet review room that becomes a real distraction during long sessions.
None of these are deal-breakers individually. They are the reason a short pilot in the actual meeting room is so much more informative than a spec sheet.
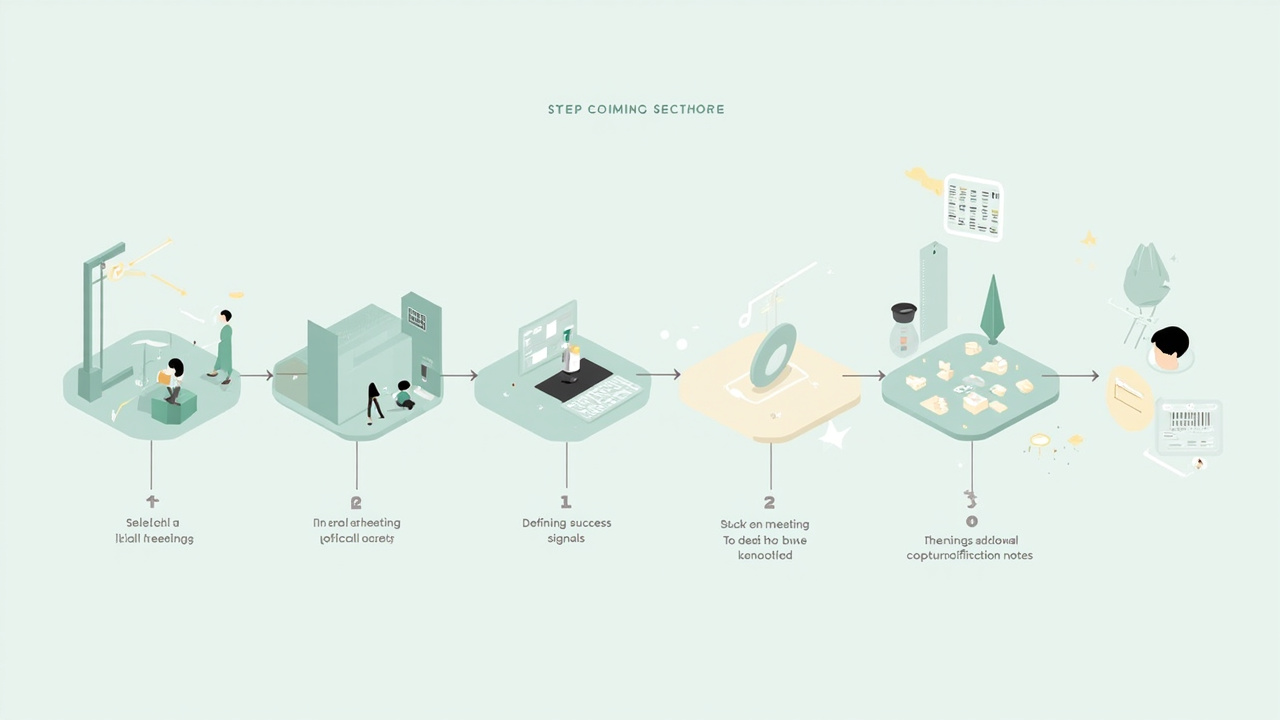
A short, structured pilot in the actual meeting room reveals more about collaborative review fit than a spec sheet.
How to pilot glasses-free 3D in a real review meeting
The fastest way to separate marketing from workflow fit is a structured pilot. A useful pilot lasts two to three sessions, involves the actual reviewers (not just the IT or AV team), and measures a small set of qualitative signals rather than chasing benchmarks.
A workable pilot outline:
- Pick a representative review. Choose a meeting the team already runs — a weekly design review, a clinical case discussion, a recurring QA hand-off — and run it once on the glasses-free 3D display as the primary screen.
- Prepare three to five real assets. Not a curated demo reel. The actual files the team usually opens.
- Define three success signals in advance. For example: did every participant see correct stereo for at least 80% of the session, did the meeting finish on time, did anyone ask to switch back to a regular display?
- Run the same meeting twice. Once with prepared content, once with on-the-fly content from a participant’s laptop, to surface the source-switching tradeoff.
- Capture friction notes, not just impressions. “Sarah kept drifting out of zone when she turned to ask Mark a question” is more useful than “it looked cool.”
A pilot done this way usually answers the team-fit question in under a week. It also produces a much sharper procurement conversation than a comparison table.
When glasses-free 3D is the wrong tool for the job
It is worth saying directly: glasses-free 3D is not the right collaborative review tool in several common situations. Honest framing helps readers who are early in their evaluation.
- Large groups (six or more simultaneous viewers). Multi-view lenticular displays exist, but the per-viewer fidelity and seating constraints usually make a large 2D display plus a separate shared 3D workflow a better fit.
- Highly mobile review. Walk-up-and-talk sessions, factory-floor walk-throughs, and bedside case reviews usually lose too much to viewing-zone breaks. A headset-based or 2D-shared workflow is often more honest about its limits.
- Content ecosystems that are firmly 2D. If the team’s source material is documents, screenshots, and 2D renders, the glasses-free 3D premium buys very little. A high-quality color-accurate 2D display is the right answer.
- Mixed 2D / 3D switching at high frequency. Some meetings genuinely do alternate between slides and 3D content. If that switch happens every few minutes, the workflow overhead of a glasses-free 3D primary display often outweighs the depth benefit.
For teams whose review pattern is “two to four people, in the same room, looking at the same 3D asset, for 20 to 60 minutes,” glasses-free 3D is genuinely worth piloting. Outside that pattern, the tradeoffs get harder to defend.
Next steps for evaluating a collaborative glasses-free 3D setup
If the pattern above matches your team, a reasonable sequence is:
- Use a structured pilot (the outline above) before committing to a model.
- Compare named options against your actual review pattern; a workflow-fit comparison such as Odyssey 3D Monitor Alternatives and Workflow Fit can shorten that step.
- When the pilot confirms fit, move to a broader selection pass via a dedicated buyer guide such as the Spatial 3D Display Buying Guide.
- Throughout, keep content preparation and room layout as first-class items on the checklist — they are the variables that decide whether the technology survives contact with a real meeting.
The honest summary: glasses-free 3D is a strong collaborative review tool inside a fairly specific envelope, and a frustrating one outside it. The workflow tradeoffs are real, but they are also knowable in advance with a short, well-structured pilot.
Ready to explore 3D displays?
Browse our detailed comparisons and buying guides to find the right spatial display for your workflow.
View Best 3D MonitorsDisclosure: This article is part of 3DMonitor.net's educational content. Product recommendations are based on research and may contain affiliate links. See our full disclosure.