Parallax Barrier Display: Technical Explainer
A neutral technical explainer covering how parallax barrier displays separate left- and right-eye views, where they sit in the glasses-free 3D family, and the workflow tradeoffs buyers should weigh.
Parallax Barrier Display: Technical Explainer
A parallax barrier display is one of the established ways to deliver glasses-free 3D on a flat panel. It belongs to the broader family of autostereoscopic displays, which aim to send slightly different images to each eye without requiring the viewer to wear shutter glasses, polarized glasses, or a headset. Understanding how a parallax barrier works — and where it falls short — is useful for any team evaluating glasses-free 3D monitors for professional review work.
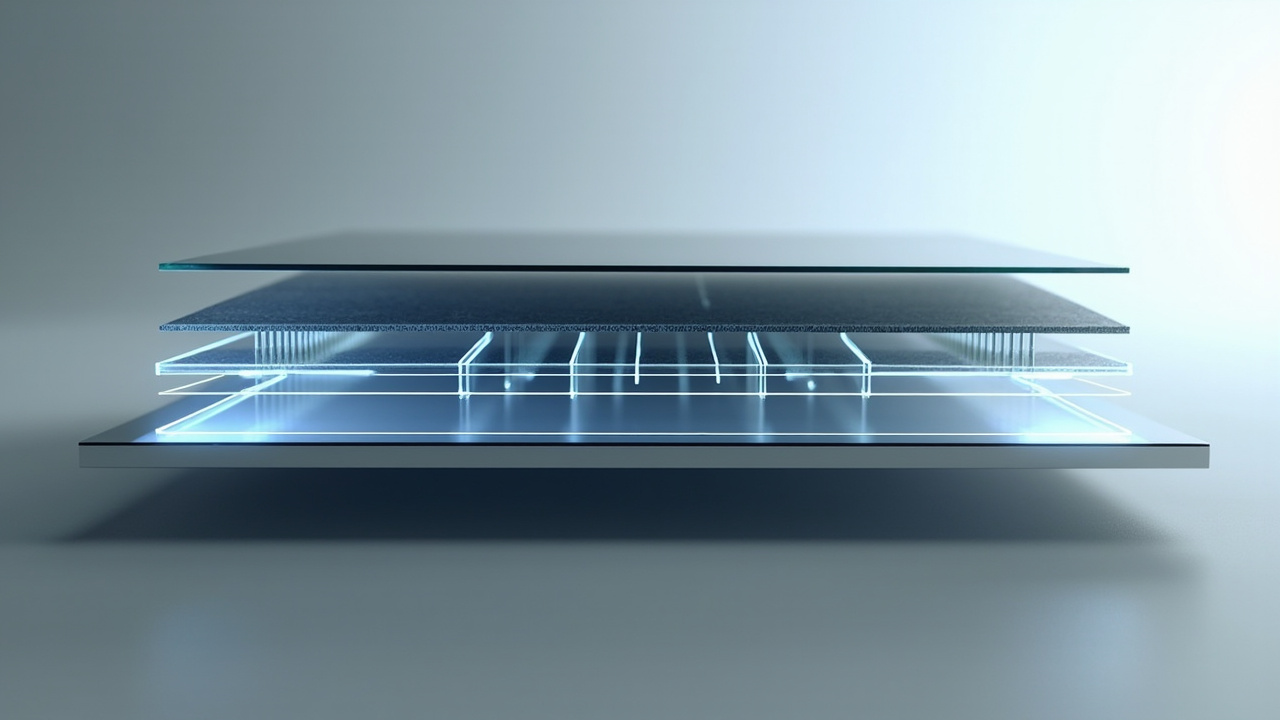
Conceptual cutaway of a parallax barrier display: a slatted barrier layer sits in front of the panel and gates which columns each eye can see.
What a parallax barrier display is
A parallax barrier display is a standard LCD (or similar flat-panel) screen with an additional opaque layer placed in front of it. That extra layer, the barrier, contains a series of fine vertical slits. The slits are precisely aligned with the columns of pixels on the panel underneath.
The role of the barrier is geometric, not computational: by controlling which pixel columns each of the viewer’s eyes can physically see, the display can show two different images — one intended for the left eye and one for the right — on the same physical screen. The brain then fuses those images into a perception of depth, the same way it does with stereoscopic content.
The defining feature is that no glasses, headsets, or active eyewear are required. As long as the viewer is positioned in the intended sweet spot, the barrier’s geometry does the work of separating the eye views.
How the barrier creates separate left- and right-eye views
The barrier works because the slits only allow light from certain pixel columns to reach each eye position.
In the simplest two-view configuration:
- Every other column of pixels is reserved for the left-eye image; the remaining columns carry the right-eye image.
- The slits in the barrier are aligned so that, at the intended viewing distance and lateral position, light from the left-eye columns reaches only the left eye, and light from the right-eye columns reaches only the right eye.
- Outside that narrow alignment, the barrier blocks or mixes the views, which is why parallax barrier designs are sensitive to head position.
Three conceptual points help explain the behavior:
- The barrier is fixed relative to the pixel grid. It is a physical layer, not a dynamic mask. It does not “track” the viewer in basic implementations.
- The geometry defines viewing zones. There is a small range of head positions where the left and right views remain separated. These regions are usually called sweet spots or viewing zones.
- Eye-tracking changes the picture. Some modern autostereoscopic monitors add eye tracking so the barrier pattern or pixel mapping can adjust to the viewer’s position. This widens the usable zone but is not universal, and not every parallax barrier product includes it.
For a broader view of the family this technology sits inside, see the Autostereoscopic Display: Technical Explainer. For a wider discussion of glasses-free 3D tradeoffs, the Naked-Eye 3D: Technical Explainer and 3D Without Glasses: Technical Explainer provide useful adjacent context.
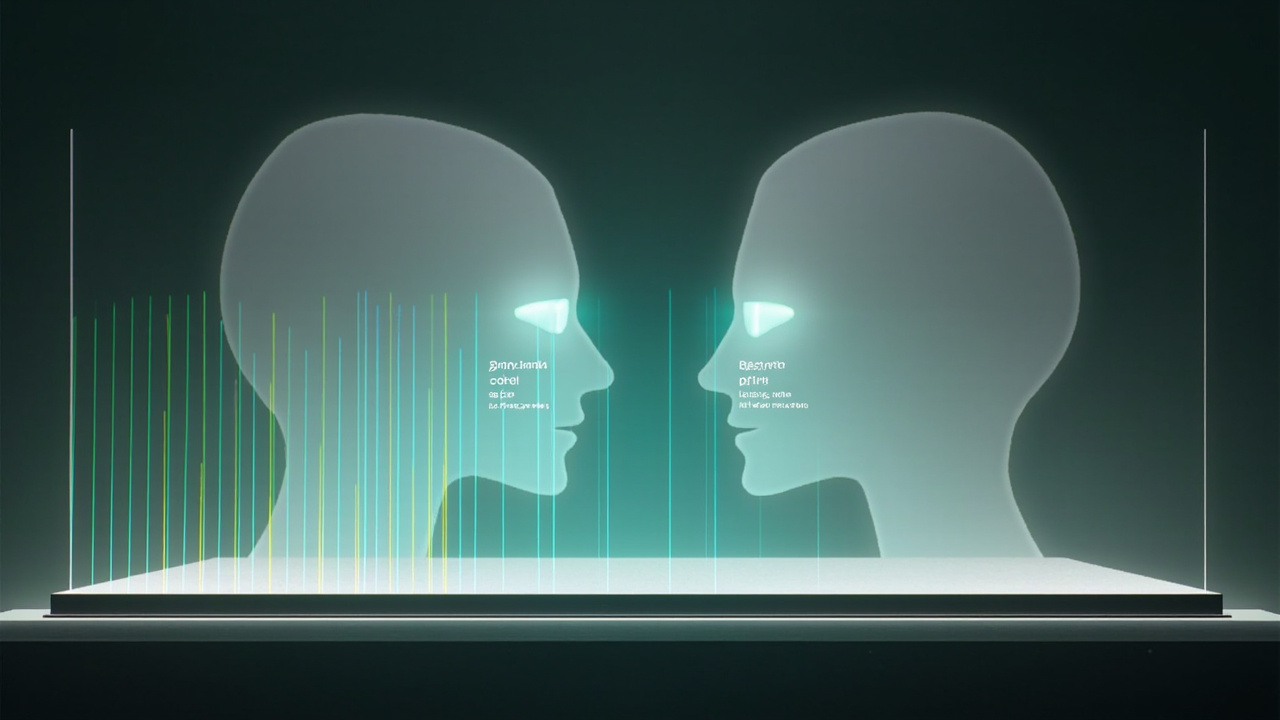
Viewing zones defined by the barrier: at the intended lateral position, left columns route to the left eye and right columns route to the right eye.
Where parallax barrier sits in the glasses-free 3D family
Parallax barrier is one of two dominant optical methods for delivering glasses-free 3D on flat panels. The other major method is the lenticular lens array, which uses tiny lenses instead of slits to direct light toward the viewer. Both methods aim to deliver two (or more) separate views to the eyes without eyewear.
Within autostereoscopic designs:
- Two-view barrier systems are the simplest. They deliver one left view and one right view, each usable from a narrow sweet spot.
- Multi-view barrier systems use a denser slit pattern so that several viewing zones are interleaved across the panel. This improves head movement tolerance and can support multiple viewers, but each individual view receives fewer pixels.
- Eye-tracked variants add a camera-based eye tracker and dynamic mapping on top of the barrier geometry. This is often how professional autostereoscopic monitors broaden the usable sweet spot beyond a fixed zone.
Compared with lenticular designs, parallax barrier panels are usually easier to manufacture and can be produced on conventional LCD lines, but they typically lose more light to the opaque barrier slats. That loss is one of the main reasons parallax barrier screens are often noticeably dimmer than non-barrier panels when 3D mode is active.
Tradeoffs: brightness, resolution, viewing zones
Parallax barrier designs come with several well-known tradeoffs. None of these are deal-breakers by themselves, but they shape which workflows the technology fits.
- Brightness loss. The opaque regions of the barrier block a significant share of backlight. In 3D mode, perceived brightness can drop noticeably compared with 2D mode on the same panel.
- Effective resolution per view. Because pixel columns are split between left and right views, each view receives roughly half the horizontal pixel count of the panel. Multi-view designs divide pixels further still. This is often visible as reduced text sharpness or fine detail.
- Narrow sweet spots. Without eye tracking, the viewer must keep their head within a constrained lateral range. Moving too far to one side causes the views to flip, blur, or invert.
- Single primary viewer. Two-view designs are really intended for one person. Multi-view designs can support more than one viewer, but each additional view reduces per-view resolution.
- Content dependence. The display can only deliver 3D when the source content provides separate left and right image data. Standard 2D content plays back as a flat image, typically with half the columns unused or repeated across both eyes.
- Panel-layer integration cost. Adding a barrier layer affects manufacturing yield, calibration, and serviceability. For a look at how barrier layers interact with the underlying panel, the 3D Display Screen: Technical Explainer covers the hardware-integration side.
These tradeoffs are not unique to any one brand. They are structural consequences of separating eye views with a fixed optical mask.
Content preparation and workflow fit
A parallax barrier display only shows 3D when the source content is already prepared for stereoscopic playback. That has direct workflow implications.
Content that typically works well:
- Side-by-side (SBS) stereo video or image sequences
- Stereo pairs exported from 3D modeling or rendering tools
- Stereo output from medical or industrial visualization software that supports dual-view rendering
- Stereo camera or capture pipelines that produce matched left/right streams
Content that usually does not give a 3D effect without extra preparation:
- Standard 2D video, which has no separate left/right data
- Flat images and screenshots
- Software that renders only a single camera view at a time and has no stereo output mode
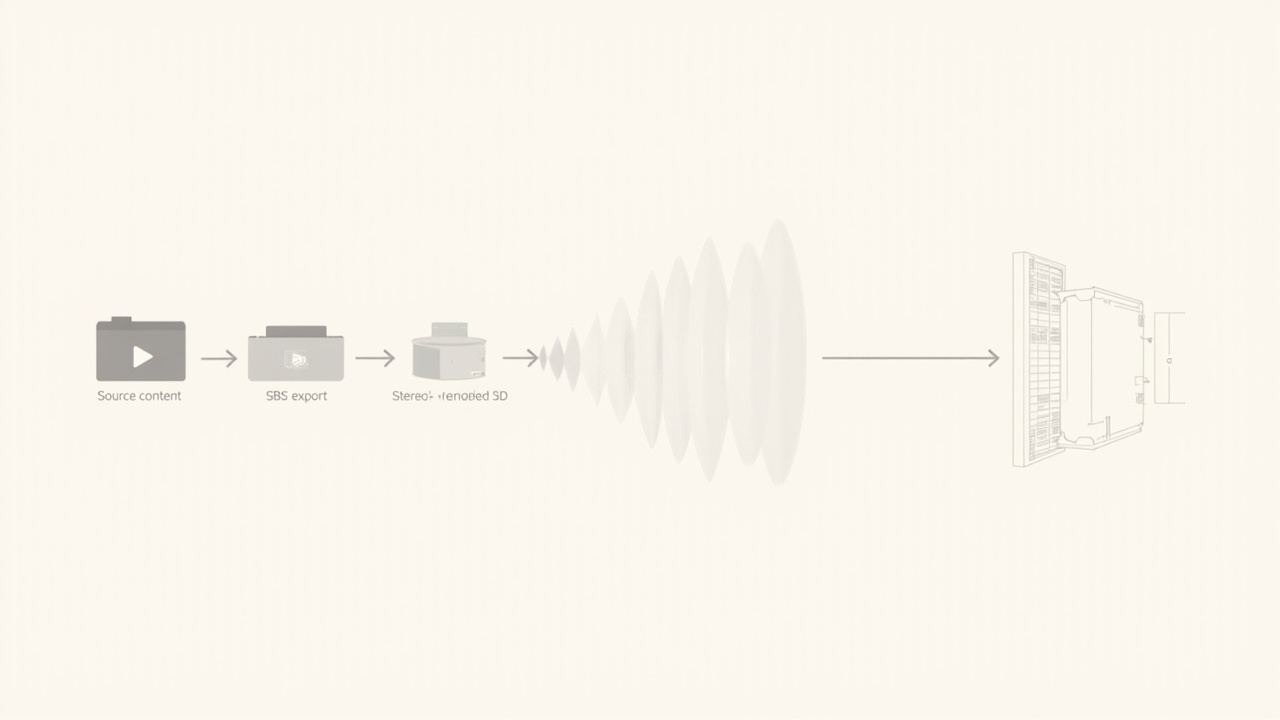
Workflow fit: parallax barrier displays rely on source content that already carries separate left- and right-eye data, such as SBS stereo or stereo exports.
Because of this, parallax barrier monitors fit best in workflows where the upstream tools can produce stereo output, or where the team is willing to prepare content for 3D playback. They fit less well in environments where most of the material is plain 2D and conversion would be the norm rather than the exception.
For teams comparing individual parallax barrier products against broader glasses-free 3D options, the Spatial 3D Display Buying Guide offers a buyer-oriented framing.
Limitations to plan around
A few limitations are worth naming explicitly, because they tend to surface late in evaluation cycles:
- Head position matters. Plan for monitor placement, chair height, and lighting that keep the primary viewer inside the sweet spot. Eye-tracked variants reduce but do not eliminate this concern.
- 2D mode quality varies. Some parallax barrier panels trade 2D sharpness for 3D capability. If the same monitor must also serve as a high-quality 2D workstation display, verify both modes before committing.
- Viewer count is limited by design. Two-view panels are essentially single-viewer products. Multi-view panels exist, but per-view resolution drops as view count rises.
- Calibration and service. Barrier alignment is a physical property of the panel. Repairs or replacements tend to be more involved than for a standard flat-panel display.
These points are not reasons to avoid parallax barrier technology. They are reasons to scope the deployment carefully and verify that the workflow, the content pipeline, and the viewing setup all line up.
Buyer questions and next steps
When evaluating a parallax barrier display, a few questions tend to separate a good fit from a frustrating one:
- Does your content pipeline already produce stereo or SBS output? If not, factor in the cost of preparing content before assuming 3D will be useful day to day.
- Will the display be used primarily by one viewer, or do multiple people need to see 3D at once? That answer points toward two-view vs. multi-view designs, and toward whether eye tracking is worth prioritizing.
- How important is 2D quality on the same panel? If the monitor doubles as a daily 2D workstation, confirm that 2D mode is acceptable.
- What is the lighting environment? Because parallax barrier panels lose light to the barrier, bright rooms and glare-sensitive tasks may need additional consideration.
- How is the panel serviced and calibrated? Barrier alignment is part of the panel’s identity, so support and warranty terms deserve attention.
For readers who want to place parallax barrier in context with other glasses-free 3D approaches, the related explainers linked above cover the surrounding technology, and the buying guide offers a more decision-oriented framing.
This article is a third-party technical explainer. It does not endorse a specific product, and specifications, availability, and pricing should be verified directly with the manufacturer or reseller before any purchasing decision.
Ready to explore 3D displays?
Browse our detailed comparisons and buying guides to find the right spatial display for your workflow.
View Best 3D MonitorsDisclosure: This article is part of 3DMonitor.net's educational content. Product recommendations are based on research and may contain affiliate links. See our full disclosure.