How to Choose a 3D Monitor for PC: A Practical Buyer Guide
An objective buyer-guide walkthrough for choosing a glasses-free 3D monitor for PC use, covering technology types, compatibility, workflow fit, and selection criteria.
How We Chose
Editorial recommendations are organized by reader intent, workflow fit, supplied evidence, and clearly stated limitations. Product-specific details require source verification.
What “3D Monitor for PC” Actually Means
Searching for a “3D monitor for PC” turns up a confusing mix of products. Some rely on active-shutter or polarized glasses, some are glasses-free autostereoscopic panels that look like ordinary monitors, and some are full VR or mixed-reality headsets that connect to a PC. These are fundamentally different approaches, and the right one depends on the kind of PC workflow you want to keep.
For most professional buyers — design review, medical visualization, industrial inspection, CAD, architecture, and education teams — the practical category of interest is a glasses-free 3D monitor that works like a regular desktop display. That is the autostereoscopic spatial display category. The rest of this guide focuses on that category, with brief notes on when a glasses-required or VR approach might also fit.
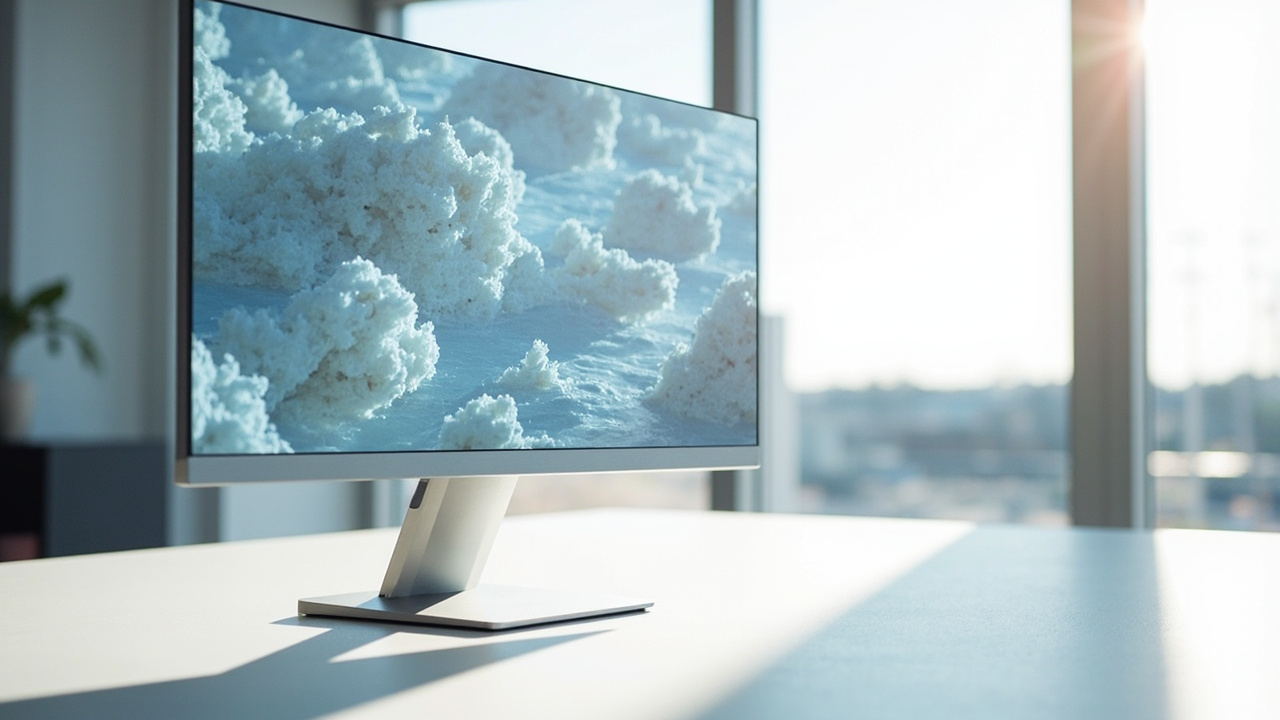
A glasses-free 3D PC monitor delivers stereoscopic depth without headsets or shutter glasses.
Glasses-Free vs Glasses-Required vs VR
Before listing selection criteria, it helps to separate the three PC-side 3D display families you will see on the market.
- Glasses-free 3D monitors (autostereoscopic): desktop-sized displays using parallax barrier, lenticular lens, or light-field optical layers, often combined with eye tracking. The viewer perceives depth without wearing anything. Examples of related explainers on this site include Autostereoscopy: Technical Explainer and Autostereoscopic Display: Technical Explainer, which cover the underlying methods in depth.
- Glasses-required stereoscopic monitors: active-shutter or polarized glasses paired with a high-refresh-rate display. Strong stereo effect, but every viewer needs to wear, charge, and maintain eyewear. See How to Choose Stereoscopic 3D Monitor for the glasses-required variant of this decision.
- PC-tethered VR or mixed-reality headsets: the user wears an HMD. Strong per-eye control, but the workflow shifts away from a monitor-style setup into headset-style interaction.
If you specifically want a monitor-style desktop experience that visitors and colleagues can look at without putting on hardware, the autostereoscopic family is the PC-monitor form factor that matches that intent. The Spatial 3D Display: Technical Explainer article on this site describes how that category is built around display-side processing rather than wearable gear.
Key Selection Criteria
Once the category is clear, the practical decision comes down to a handful of consistent criteria. Use these as your shortlist filter.
1. Display method and viewer model
- Parallax barrier approaches are common in glass-free 3D PC monitors and are explained at Parallax Barrier Display: Technical Explainer. They tend to be simpler and lighter, with trade-offs in brightness and viewing-zone count.
- Lenticular lens and light-field approaches can support more viewing zones or smoother motion parallax, often at the cost of resolution per view and panel cost.
- Eye-tracked systems reduce the fixed sweet-spot problem by steering the view to the user’s eye, and are a common feature of professional spatial 3D monitors. The trade-off is typically a single tracked viewer at a time.
2. Single viewer vs multi-viewer
Decide whether one person at a time will view the 3D effect, or whether small groups need to see depth together. Eye-tracked designs are usually optimized for one primary viewer; multi-view fixed-zone designs let two or more people see 3D simultaneously, but with narrower sweet spots per viewer. The collaborative trade-offs are covered in 3D Without Glasses: Technical Explainer.
3. Size, viewing distance, and room fit
- Compact panels (around 14–16 inch) suit a personal 2D/3D workstation on a single desk. Buyers who need mobility should also read How to Choose Portable 3D Monitor to understand the portable side of this category.
- Mid-size (around 27 inch) is the standard professional review-station size in many spatial display lineups.
- Large (32 inch and up) fits shared rooms, classrooms, labs, and showroom installations where viewers sit further from the panel.
4. 2D/3D switching
If your team uses the same display for high-quality 2D work — spreadsheets, reference documents, ordinary video calls — and then switches into 3D for review sessions, a model that supports clean 2D/3D switching is worth prioritizing. Without that, every colleague ends up looking at a compromised 2D experience during non-3D tasks.
5. PC-side connectivity and OS support
Confirm the monitor connects cleanly to the PCs your team already runs. Look for support on the operating systems you actually use, standard video inputs your workstations provide, and any required USB or driver setup. Do not assume compatibility — list your machines and check.
6. Touch, pen, and input expectations
Be honest about whether you need touch or pen input on the 3D panel itself. Some current glasses-free 3D monitor lineups are positioned as non-touch desktop monitors; input is handled by your usual keyboard, mouse, or external touch device. Verify this explicitly per model rather than assuming touch is included.
7. Build, ergonomics, and physical setup
Glasses-free 3D monitors typically have stricter requirements for tilt angle, height, and viewing distance than ordinary monitors because the optical sweet spot matters. Check for stable stand adjustments, VESA mount support, and a viewing-distance range compatible with your desk or workstation layout.
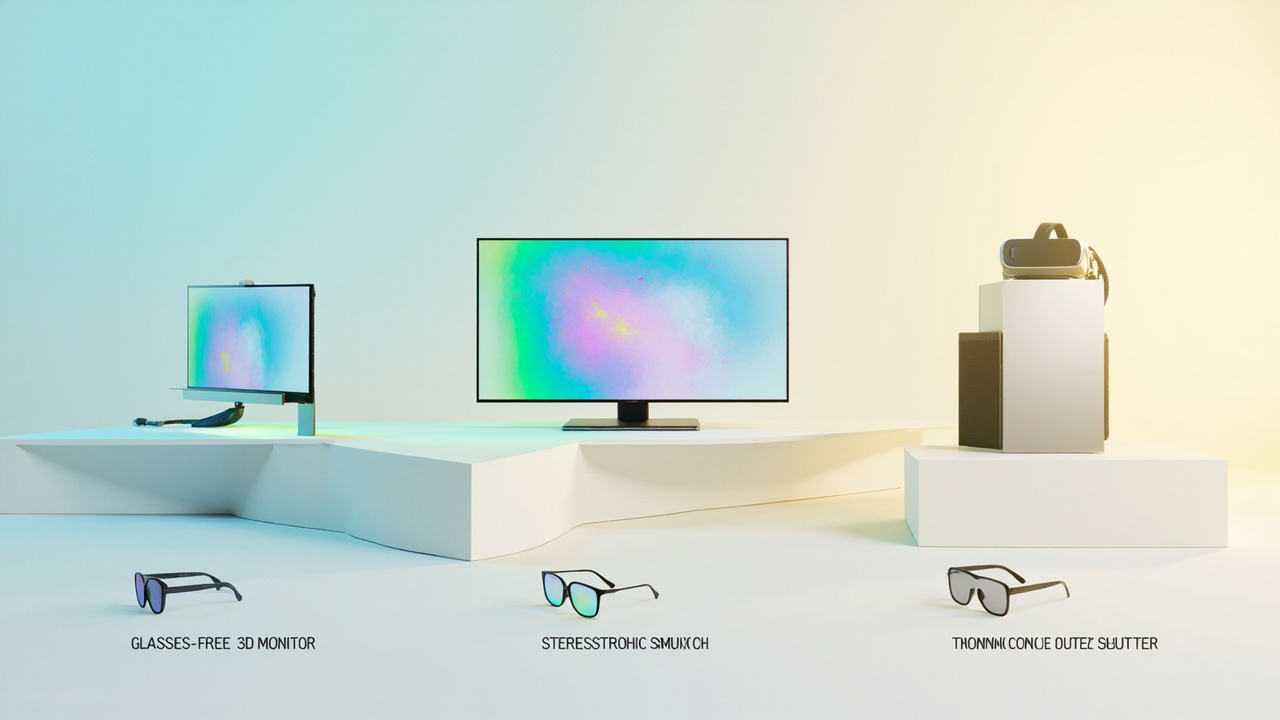
Three PC-side 3D display families — glasses-free, glasses-required, and VR — each imply a different workflow.
Content Compatibility and PC Workflow Fit
A 3D monitor is only useful if your content can actually be shown in stereo on it. This is the single most common reason glasses-free 3D purchases under-deliver, so it is worth treating compatibility as a first-class selection criterion rather than an afterthought.
Content sources that typically work well on glasses-free 3D PC monitors:
- SBS (side-by-side) stereo content, including stereo video, SBS image pairs, and camera-output stereo where supported by your pipeline.
- CAD and 3D model viewers that can output stereo, multi-view, or 3D-ready rendering for an external display.
- Medical and industrial 3D data exported from compatible viewers (DICOM-compatible stacks, industrial CT volumes, 3D-ready rendering) where stereo output is available.
- Real-time 3D engines such as Unity, Unreal, and WebGL-based viewers that can be configured for stereo or multi-view output.
Content sources that usually need preparation:
- Ordinary 2D video and flat image libraries, since these carry no depth information.
- Software that only outputs a single 2D view per screen, with no stereo or 3D view option.
- Captured 3D footage from phones or consumer cameras that may need reformatting into the SBS or multi-view layout the monitor expects.
Before shortlisting a specific monitor, list the two or three programs your team uses most often on the PC side — CAD package, DICOM viewer, Unity build, inspection tool, custom WebGL app — and confirm stereo or 3D output is available on each. If a core tool in your workflow only renders a flat view, the 3D monitor will fall back to 2D for that tool and the purchase loses part of its value.
Viewer Count, Viewing Distance, and Room Setup
Because glasses-free 3D monitors rely on precise optical zones, the physical room shapes the experience more than with an ordinary monitor.
- Decide whether the primary use case is solo review at a fixed desk, where eye-tracked models work well, or small-group review, where multi-zone designs fit better.
- Measure the desk depth and the planned viewing distance against the monitor’s specified optimum range. Viewing too close or too far degrades the depth effect and can reintroduce banding or crosstalk.
- Check ambient lighting. Strong backlight, direct sunlight, or uncontrolled showroom lighting can wash out lenticular and parallax barrier designs more than ordinary panels.
- For shared rooms, plan seating positions around the published sweet spots rather than the way you would arrange chairs for a regular meeting.
If your team moves between rooms, expects multiple viewers per session, or needs viewers to roam while speaking, factor that in early. A desktop 3D monitor optimized for a single tracked viewer will behave differently than a multi-view design intended for two or three simultaneous observers.
Limitations and Uncertainty to Weigh
Buyer guides are most useful when they also flag where the technology is still constrained. For current glasses-free 3D PC monitors, the recurring honest caveats are:
- Resolution per view is typically lower than the panel’s native 2D resolution, because the same pixel count is shared across viewing zones or across left/right stereo views.
- Viewing zones are narrower than the full screen area of an ordinary monitor. Off-axis viewers see less 3D effect or fall back to 2D.
- Content preparation matters. The monitor cannot add depth to source material that was never captured or rendered in stereo.
- Prices and configurations shift. Treat any quoted price or specific configuration as a snapshot to verify against the seller’s current listing before purchase.
- Eye tracking, when included, usually supports one primary viewer. Multi-user eye tracking is not standard on most desktop 3D monitors.
For a closer look at the broader limitations of 3D displays in general, the article What Are The Disadvantages Of 3D Screens on this site goes into the trade-offs in more detail.
Next Steps Before You Buy
A short, practical sequence to keep the decision grounded:
- Confirm the category. Decide whether you actually want a glasses-free monitor-style PC display, a glasses-required stereoscopic setup, or a VR/MR path. The rest of the criteria only matter once this is locked.
- Audit your content. List the PC tools you use daily and confirm each can output stereo, SBS, or 3D-ready rendering.
- Map the room. Note desk depth, viewing distance, ambient light, and how many people usually view at once.
- Shortlist by size and viewer model. Use single-viewer eye-tracked designs for solo review, multi-view designs for small-group review.
- Verify current specs and pricing against the seller’s latest listing rather than relying on older snapshots.
- Plan a pilot. If your team is new to the category, treat the first unit as a workflow pilot with two or three representative content types before scaling up.
For a model-level walkthrough that goes deeper on the specific spatial display lineup, see Spatial 3D Display Buying Guide. For buyers who want to keep their option open on portable form factors, How to Choose Portable 3D Monitor covers the compact end of the same category.
A 3D monitor for PC is a sound purchase when the workflow can actually drive stereo content, the room supports the optical sweet spot, and the team understands the trade-offs. With those three conditions lined up, the choice between available models becomes much narrower and more confident.
Ready to explore 3D displays?
Browse our detailed comparisons and buying guides to find the right spatial display for your workflow.
View Best 3D MonitorsDisclosure: 3DMonitor.net's best lists are editorially independent. We may earn affiliate commissions on qualifying purchases. Rankings are based on hands-on testing, specifications, and expert assessment. Full disclosure.